Publications
 Partners


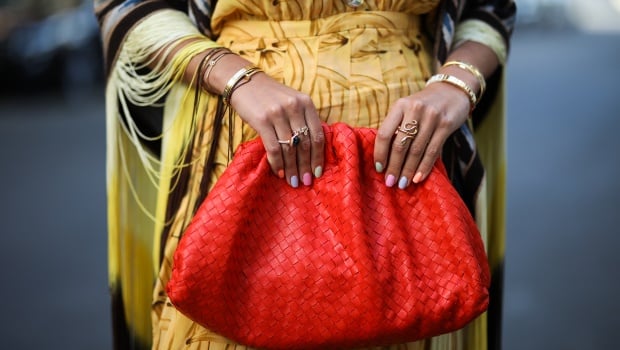
- You can attempt these four DIY nail art techniques using objects from around the house like toothpicks, bobby pins, sponges, plastic wrap, and tape.
- Try polka dot, stencil, ombre or tie dye designs.
- Make sure to keep an old concealer brush that you will use to clean up the edges on hand.
Ombre Nails:
First apply your base colour, then wait for it to dry. Once dry, apply two colours you want to use as your ombre colours on a triangle sponge, then paste once on the base. Once dry, apply, top coat.
Polka Dot Nails:
First apply your base colour, then wait for it to dry. Once dry, use a bobby pin or toothpick to apply the dots on the base colour and allow to dry. Finish with top coat.
READ MORE: Your gel polish soak off appointment is long overdue - Here's how to easily do it at home
First apply your base colour, then wait for it to dry. Use a tape to create different patterns. Place the tape on your nail and then colour it with your second colour. Once dry, apply top coat.
Marble Nails.
First apply your base colour, then wait for it to dry. Apply the second colour and immediately dab on it using plastic wrap to create a marble illusion. Once dry, apply top coat.
Compiled by Futhi Masilela
Follow us on social media: Facebook, Twitter, Instagram
Sign up to W24's newsletters so you don't miss out on any of our stories and giveaway