Publications
 Partners


Photos Francois Oberholster
Hard labour 6/10
Skill level 6/10
Time needed ± 6 hours
Do it yourself for ± R855:
paint R425,
stencil R60,
masking tape R100,
sealant R270
PROJECT NOTES
• The floor area of the bathroom is 5m²; adjust the materials and costs to suit the size of your own project.
• In preparation, the tiles on the side of the bath were removed, and this surface as well as the floor was screeded with cement. The wall tiles were retained and painted.
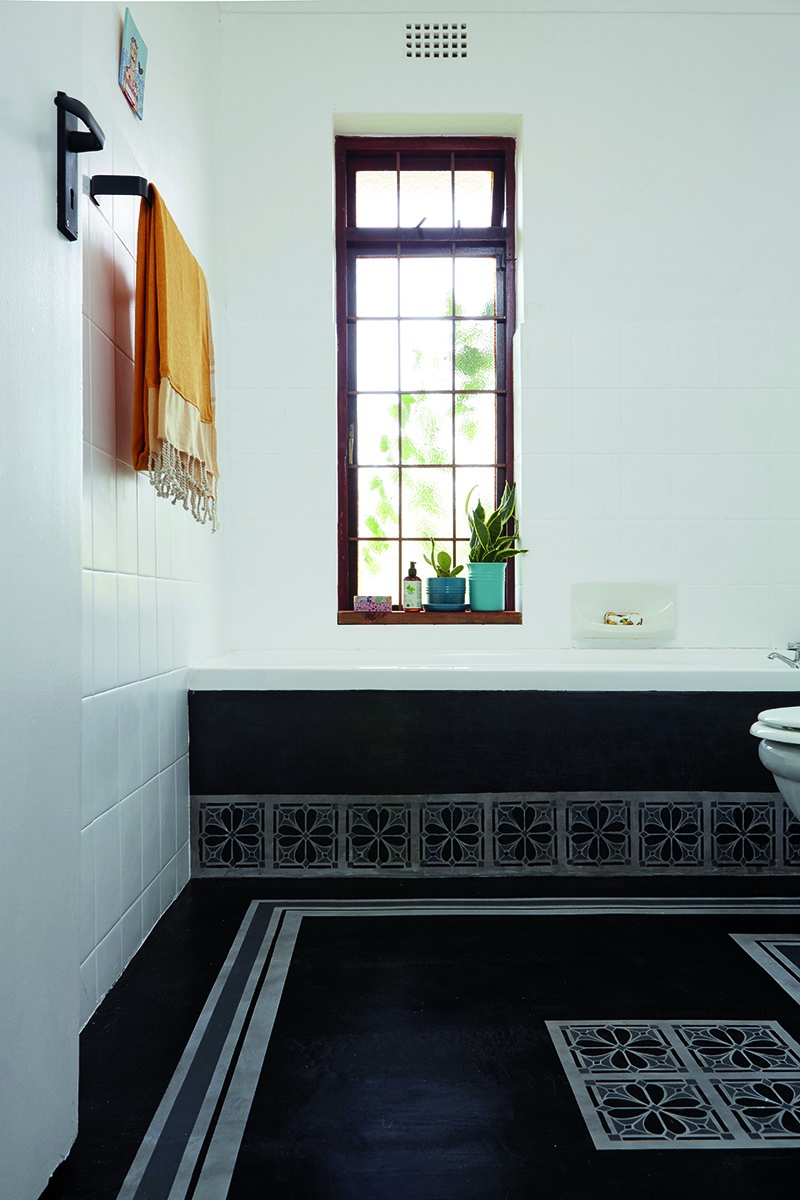
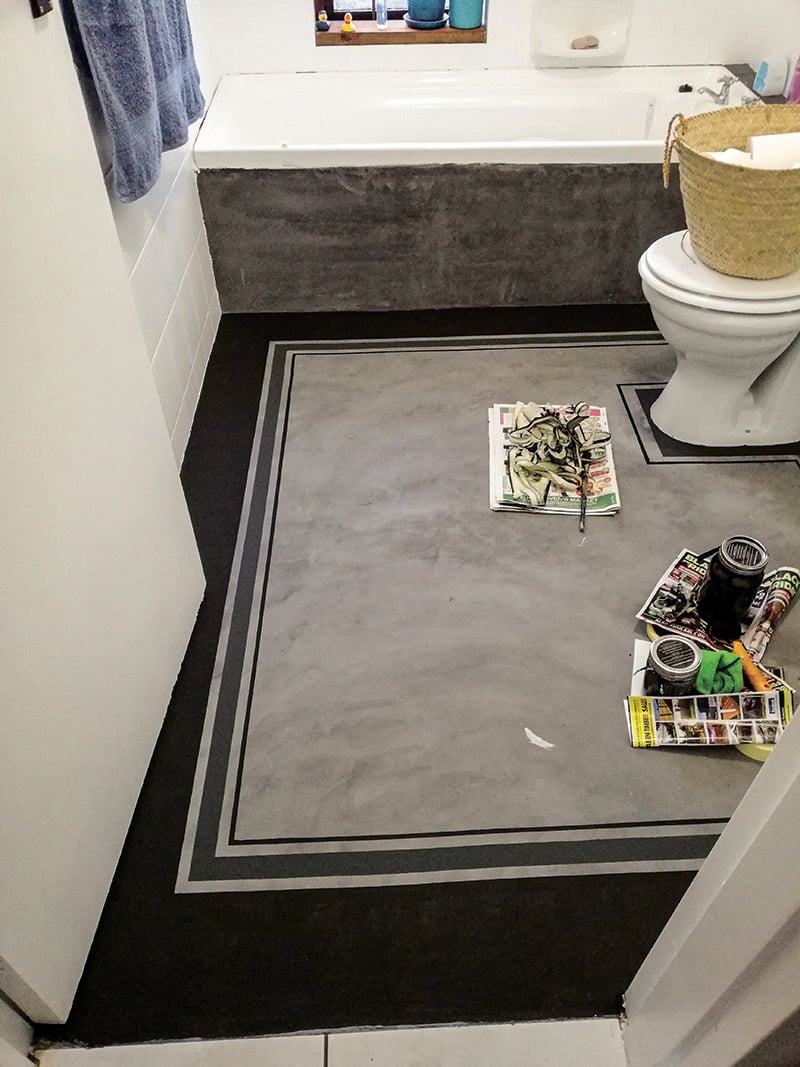
• To beautify the space, a neat border was painted on the floor and a stencil technique was done on the side of the bath and on the floor.
[MASKING TAPE TIPS]
• Start plotting your floor design with the masking tape from the outside in for better control over the pattern.
• Press the edges of the masking tape down firmly so that paint cannot seep under it.
• Use the wide masking tape to create an even gap between the lines. Remove the tape once you’ve masked off the second line; repeat with the next line.
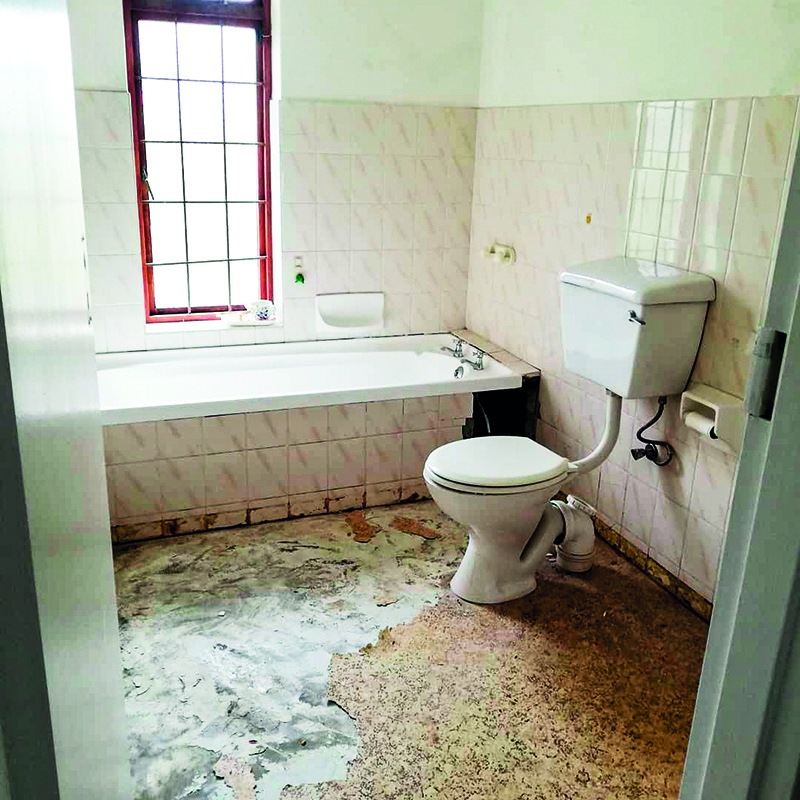
Before
You will need (other than heaps of patience!)
SHOPPING LIST
• masking tape in three widths: 12mm, 24mm and 48mm
• Tjhoko Paint in the colours Matt Black and Sherif’s Stone
• Duram Showfloor paint in Clear
• stencil
Tools
• tape measure
• paintbrush
• sponge roller
• artist brush for cutting in
Here’s how...
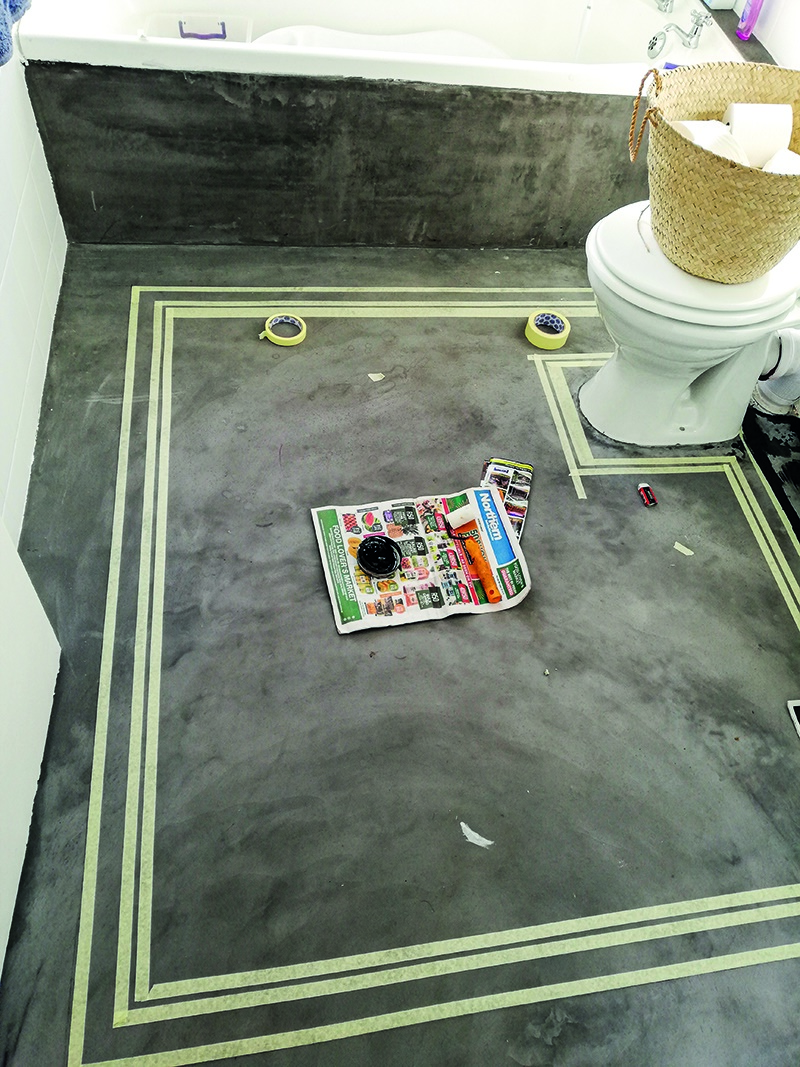
1 Decide how far from the wall you want the floor border to be. Use a pencil to mark the lines on the cement floor. Now stick the masking tape along these lines (see masking tape tips). Remember, the masking tape will cover those parts of the cement you want visible after you’ve painted – the light grey stripes that you can see in the ‘after’ photo are cement, not light grey paint.
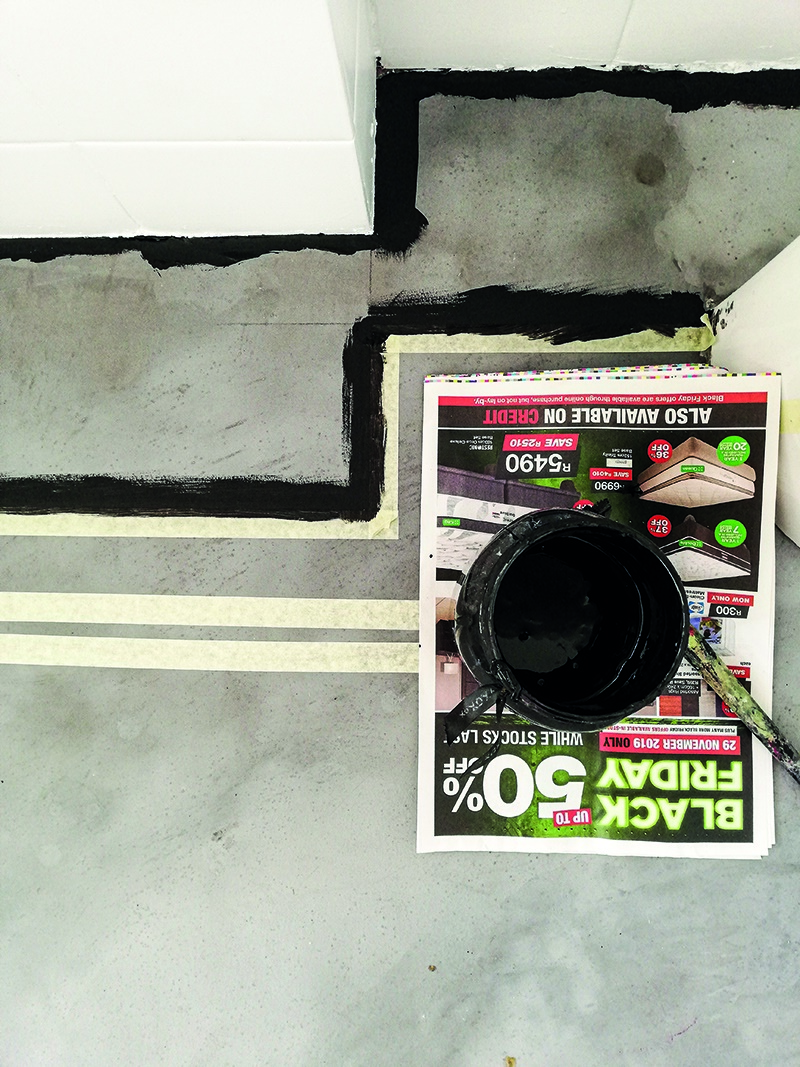
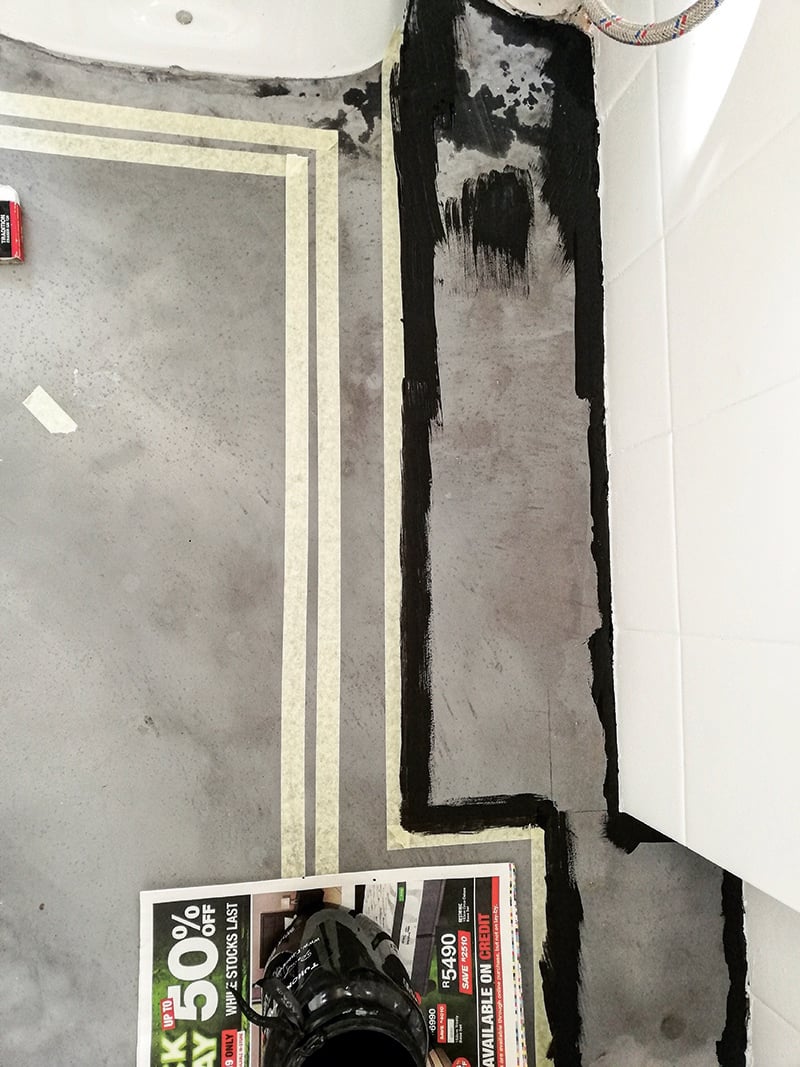
2 Now paint the strips, one colour at a time. Using the artist brush, first paint along the ‘inner edge’ of each strip next to the masking tape. Then do the cutting in along the outer edge where the floor and wall meet.
3 Now use the sponge roller to fill in the rest of the strip with the same colour.
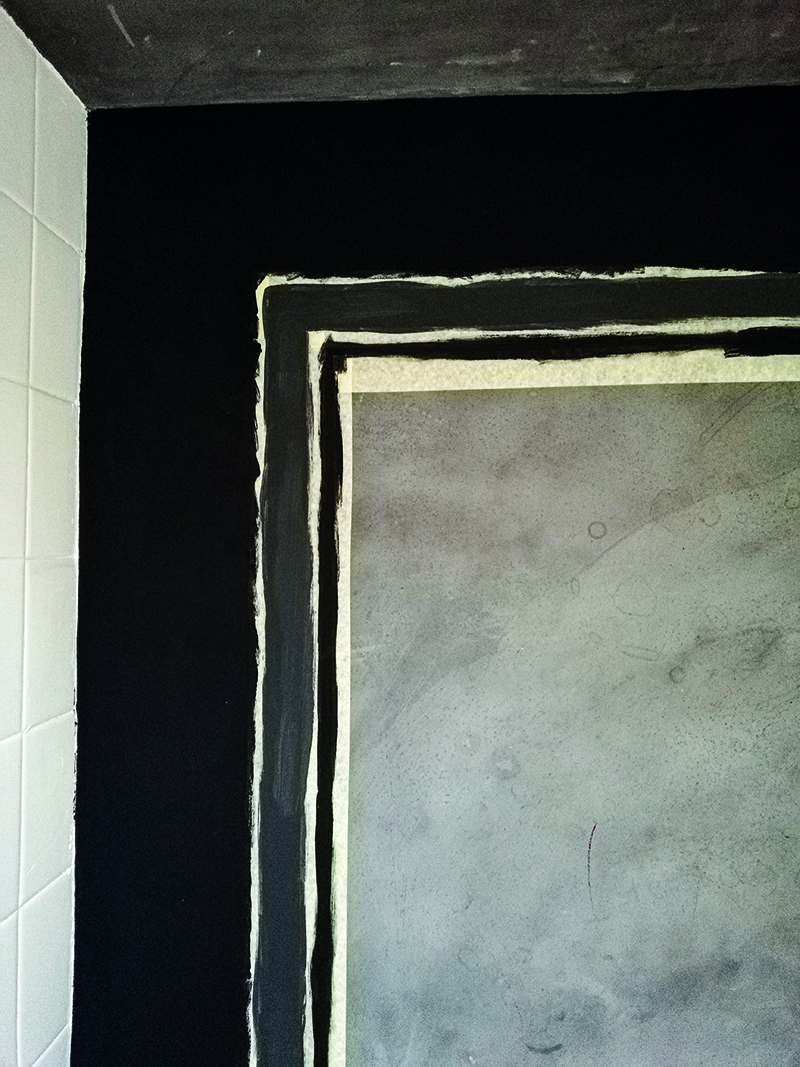
4 Allow the paint to dry before carefully removing the masking tape. Touch up any blemishes with the artist brush.
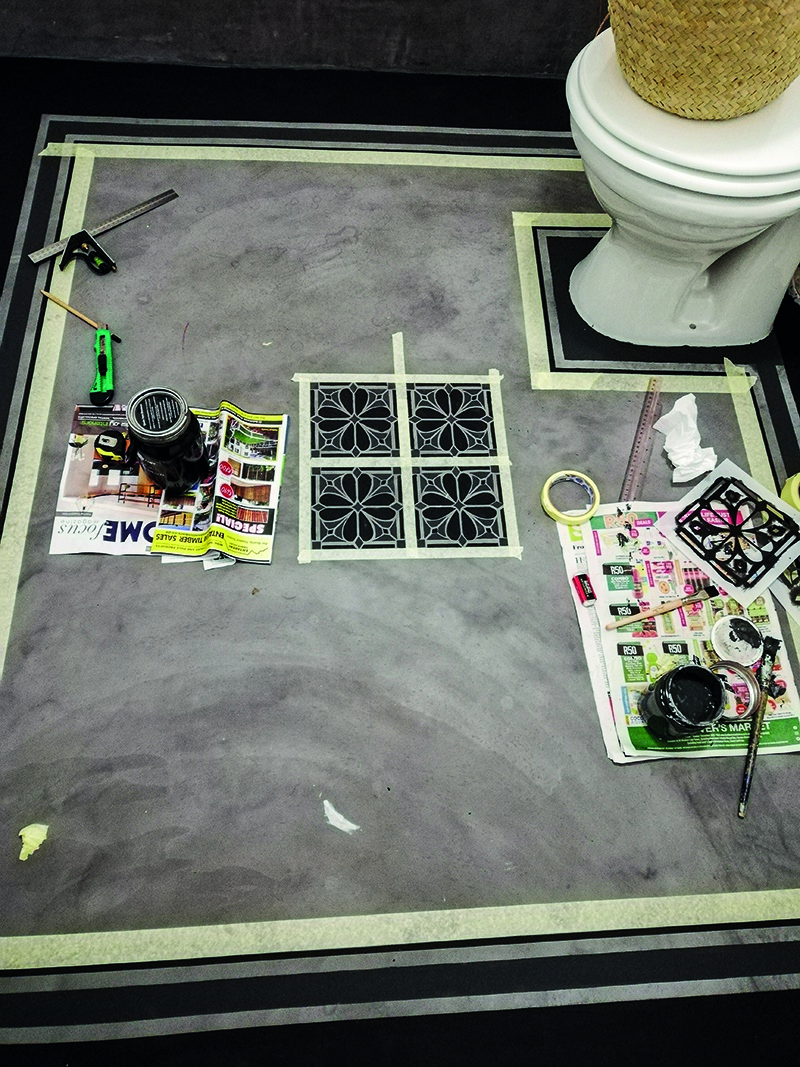
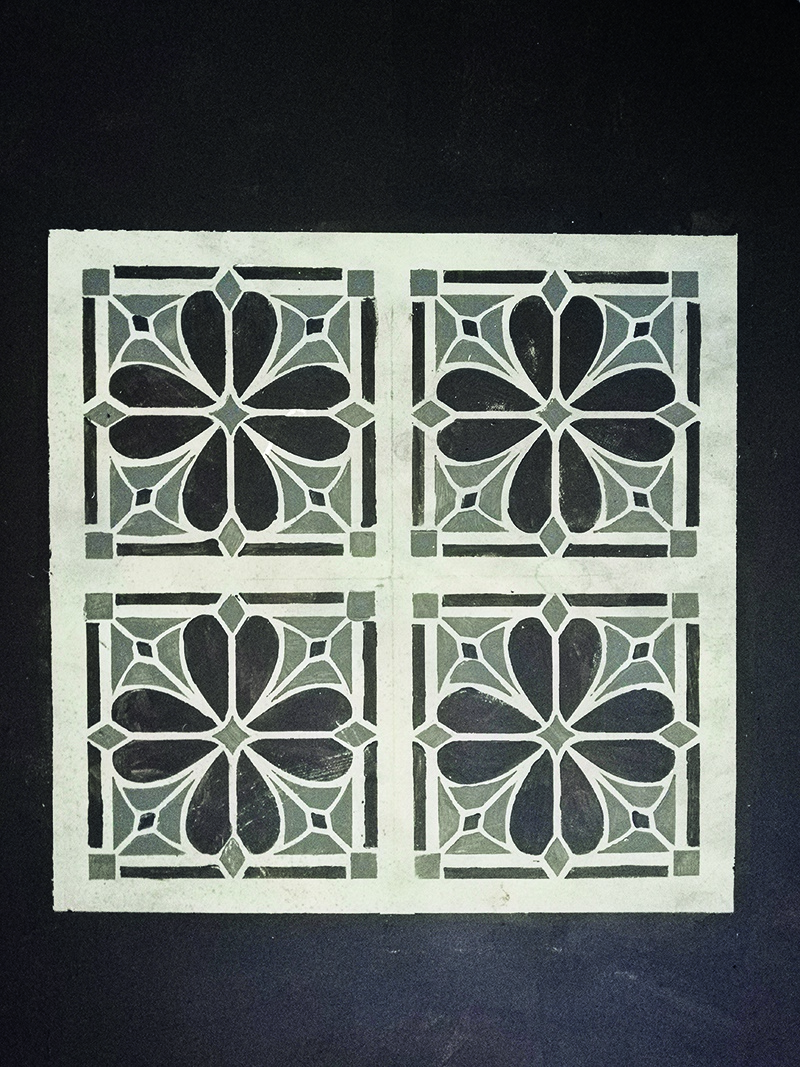
5 Measure and find the centre of the floor where the decorative design will go, mark with pencil and stick down ‘grout lines’ with masking tape to form 4 squares the size of your stencil. We used a double stencil for a two-tone effect. Stencil the first design in all four squares using Sherif’s Stone. Let the paint dry, then carefully place the second stencil on top of the first pattern and paint using Matt Black.
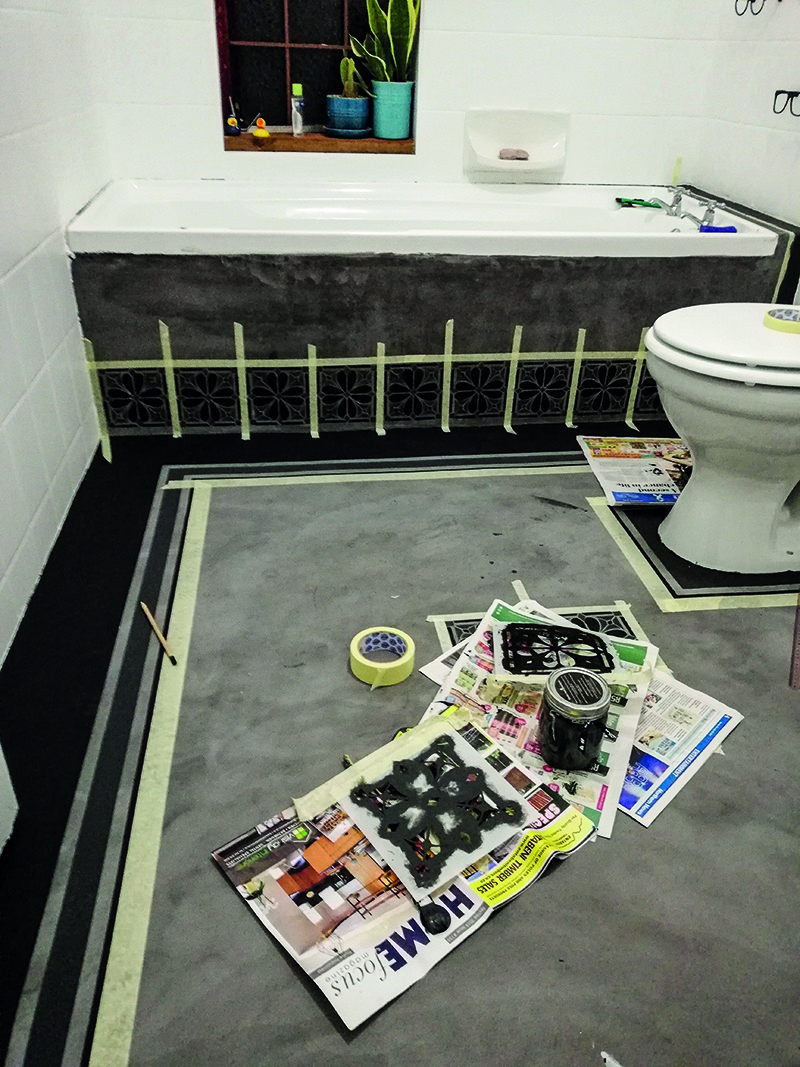
6 If you want to repeat the pattern on the side of the bath, as we’ve done, mask off ‘grout lines’ with masking tape and repeat step 5. Wait until the stencils are dry, then paint the rest of the floor in the colour of your choice (we used Matt Black).
Make sure all the paint is completely dry before sealing the surfaces with Duram Showfloor Clear; use a paintbrush for this.